The process of block paving is easy and stress-free. However, you may experience some problems that will make the job challenging. Here are some of the problems you may face when block paving and a guide to doing it correctly.
Block paving drainage problems
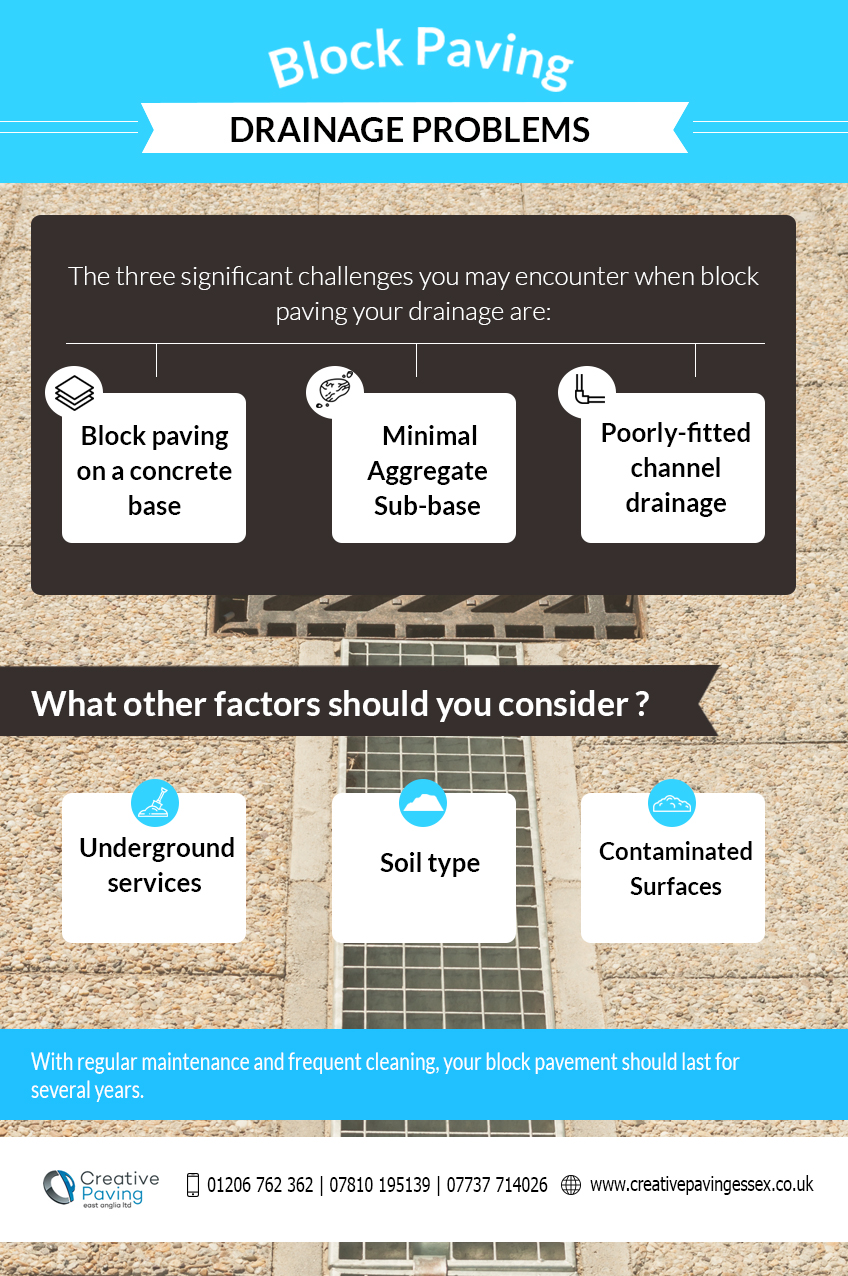
The three significant challenges you may encounter when block paving your drainage are:
1. Block paving on a concrete base
If your slope drains naturally, then laying blocks should be a walk in the park. However, if there is no fall, and water does not drain easily, then it will sit just below the blocks. This will cause an uneven surface, the growth of weeds and grass, and can eventually lift the blocks from place. In rare cases, the retained water can cause weathering of the blocks used.
The best solution for this problem is to reinstall the block paved drainage, and allow the easy flow of water in it.
2. Minimal Aggregate Sub-base
A couple of years ago, it was common to see block paved surfaces with this problem. As bizarre as it sounds, some installers used to lay block paving directly on sand beds that did not contain enough aggregate or stone sub-base. This problem is quite easy to spot in drainages because of their enormous ruts characteristic. With time, the ruts become deeper and force blocks to pull away from each other.
The best way to solve the problem is to add a suitable stone or aggregate sub-base before reinstalling the block paving.
3. Poorly-fitted channel drainage
Channel drainages are used on several block paving installations. Due to the housing legislation, permission is required before block paving installations can be fitted on highways. There are several types of channel drainage which include;
- Clark channel drainage
- Large channel drainage
- Metal Channel drainage
Sadly, a few DIY channel drainage marketers sell cheap types to people. These channel drainages do not have adequate weight-bearing features and can twist. It is difficult for water to flow easily when cheap or poorly-fitted channel drainages are used.
A step-by-step guide to laying block paving
Having understood the types of block paving drainage problems you may face, here is a step-by-step guide to laying blocks that will prevent them.
1. Preparation
Like in any other construction activity, you must have a plan before you lay blocks or break any ground. It is recommended that you create a construction drawing to have a clear view of what the layout will be and how the desired block paving will be achieved. The site layout plan goes hand-in-hand with the Bill of Quantities.
The area of the paving should be marked out, with about 300 millimetres of free space left for haunching of edges and handling materials. Also, determine where the damp proof course is and remember that it should be about 150 mm below the finish level. Spray markers or sand are good marking out tools to use. Pay attention to areas where there are puddle problems.
2. Dig off unrequired soil
You will most likely not have a ready-made surface for block paving. Therefore, you should dig all the unwanted soil and dispose of it. If weeds or grasses are sprouting, get rid of them completely. Look out for soft spots as well. It is better to dig out all the unwanted soil than to remove only those on the surface.
3. Include the sub-base
Now that the surface has been prepared, it is time to put a sub-base layer. Compact type 1 MOT or crushed recycled concrete are two of the most popular sub-base materials used in block paving.
First, start around the edges — alternate between laying 75mm and compacting it, until the whole surface is prepared. Any void found in the sub-base should be filled with grit sand or stone dust before a new layer is placed on it. Also, the sub-base should not contain bumps; they will make the paving surface uneven.
Invest a lot of time in getting the block paving right because the success of the project will depend mainly on its outcome.
4. Install kerbs and edging restraint
Edging courses are used to provide support for the installation. These restraints should be placed directly and meticulously on the concrete bed. You can set them in by making a mix of ballast and cement and then placing the edging restraints on top of them. Make sure that these courses are straight and flat by using a string line and a level.
Use a club hammer to tap it into place. If you tap too hard, you will need to add more ballast-cement mix underneath. Edging restraints do not need to be laid on concrete only when there is a kerb.
5. Lay the course
Next, spread and level a compact layer of screed and compact sand to the correct level. The sand should be 25 to 50 millimetres deep when compacted, and the profile of the screeded course should match that of the finished pavement. Pay more attention to detail at this point and use a string line to ensure correct levels and falls are achieved.
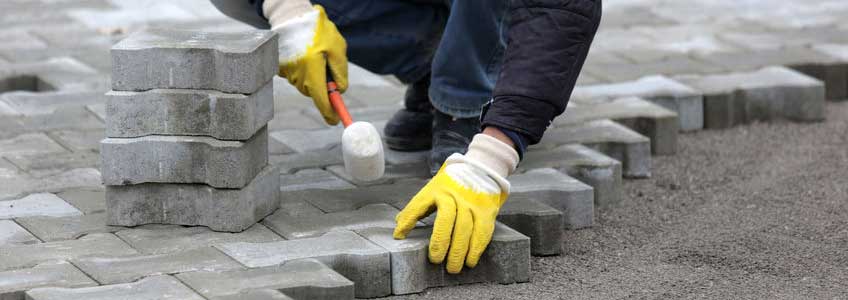
6. Lay the block
With everything in place, lay the blocks on the sand course. You can use patterns or place the blocks at angles. Work from the already laid areas, and not from the screeded course. Blocks should be placed at about 15 millimetres above the finish level so that you can compact them down.
7. Align the blocks
Misaligned blocks can easily lead to any of the block paving drainage problems above. Use the alignment bar tool to go about this. If you are using clay pavers, then you definitely need to re-align them because they easily drift when laid. On the other hand, concrete blocks are less prone to drifting.
8. Cut-in blocks
Cutting-in blocks should be only done when you are convinced that they have been properly aligned. Clay pavers are harder to cut with a block splitter. Instead, a saw should be used.
9. Joint, Compact and add the finishing touches
The job is nearly completed at this stage, but do not forget to joint, compact and add finishing touches. Jointing can be done when the cutting-in process is completed, and other verification checks are performed. Kiln-dried sand is spread over the surface and swept in the joints using a long-handle brush. The paved surface is then compacted.
However, this time around, use a rubber sole or vibrating plate on the compacter to pass the kiln-dried sand over the surface. Continue compacting until all the joints are filled with sand.
The process is completed by sweeping excess jointing sand from the surface. In a couple of weeks, the sand will settle, so remember to top it off often.
What other factors should you consider?
1. Underground services: Ensure that no underground service like electricity cables, water pipes, etc., is close to the area that you intend to pave.
2. Soil type: Gravelly or sandy soil is the best type of soil to use in paving. Avoid clay soils by all means. If you are not sure of the type of soil on it, carry out a simple test.
3. Contaminated Surfaces: A contaminated area can prevent water from soaking into the ground.
In conclusion
These are the problems you may encounter when block paving drainages. To ensure you do not face them, follow the step-by-step guide we have listed above. With regular maintenance and frequent cleaning, your block pavement should last for several years.
Read More –
Featured Image Credits: Go to Rictor Norton & David Allen’s photostream from flickr.com